How to Make Natural Hardwood Charcoal at Home for Better BBQ Flavor
For many barbecue enthusiasts, charcoal is more than just fuel. The type of charcoal you use can directly affect cooking temperature, burn time, and even the flavor of your food. While most people buy charcoal briquettes from the store, it's possible to produce your own natural hardwood charcoal using a surprisingly simple method.
If you enjoy outdoor cooking, woodworking, or self-sufficiency projects, learning how charcoal is made can be both useful and rewarding.
Why Hardwood Is Essential
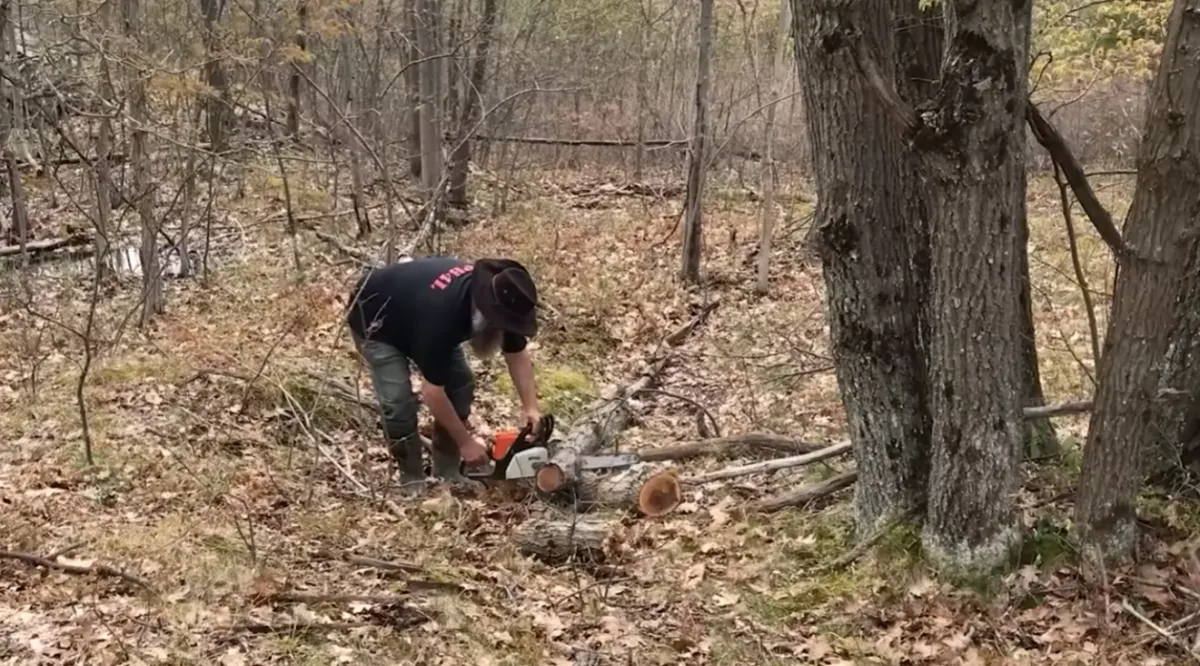
The first step in making quality charcoal is selecting the right wood.Hardwoods such as red oak, white oak, hickory, maple, or ash are preferred because they are dense and contain more energy than softwoods. These woods create charcoal that burns longer, generates more heat, and produces less ash.
Softwoods like pine can burn quickly and may leave behind lower-quality charcoal, making them less suitable for cooking applications.
Read More
Understanding How Charcoal Is Made
Many people assume charcoal is simply burned wood, but the process is actually more controlled than that.
Charcoal is produced by heating wood in a low-oxygen environment. Instead of allowing the wood to burn completely into ash, heat removes moisture, sap, and volatile compounds while preserving the carbon-rich structure of the wood.
This process is known as carbonization.
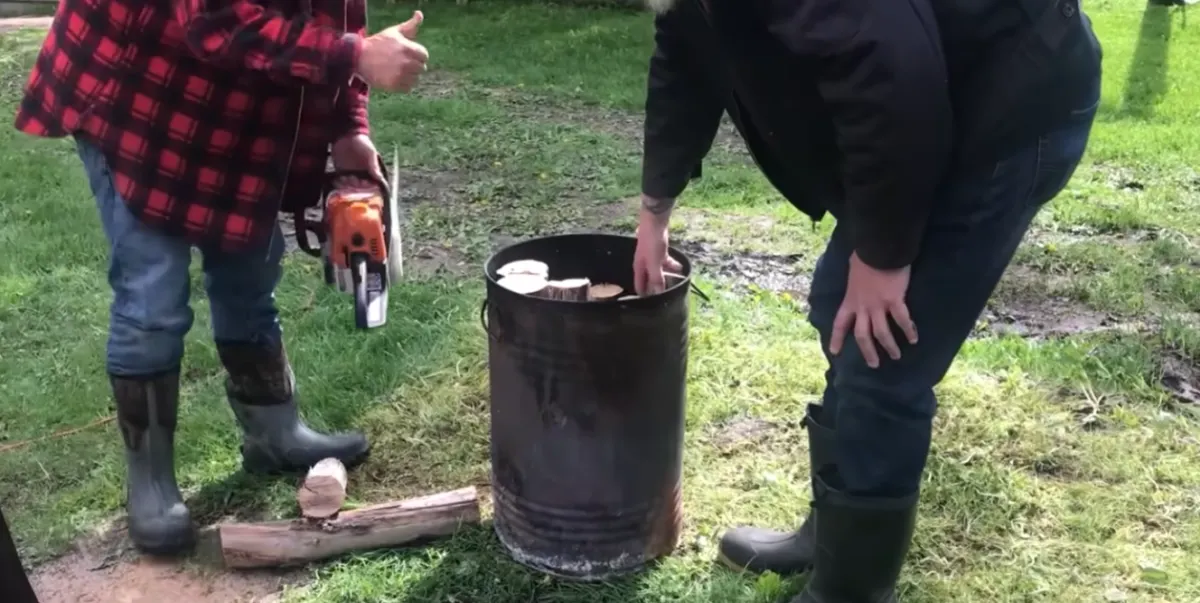
Materials Needed
To create a basic backyard charcoal kiln, you'll need:
- Hardwood logs cut into similar lengths
- A metal drum with a lid (approximately 30 gallons)
- Firewood to create external heat
- Metal straps or clamps
- A safe outdoor area away from structures
- Protective gloves and safety equipment
The drum acts as a simple kiln that protects the hardwood from direct flames while allowing gases to escape.
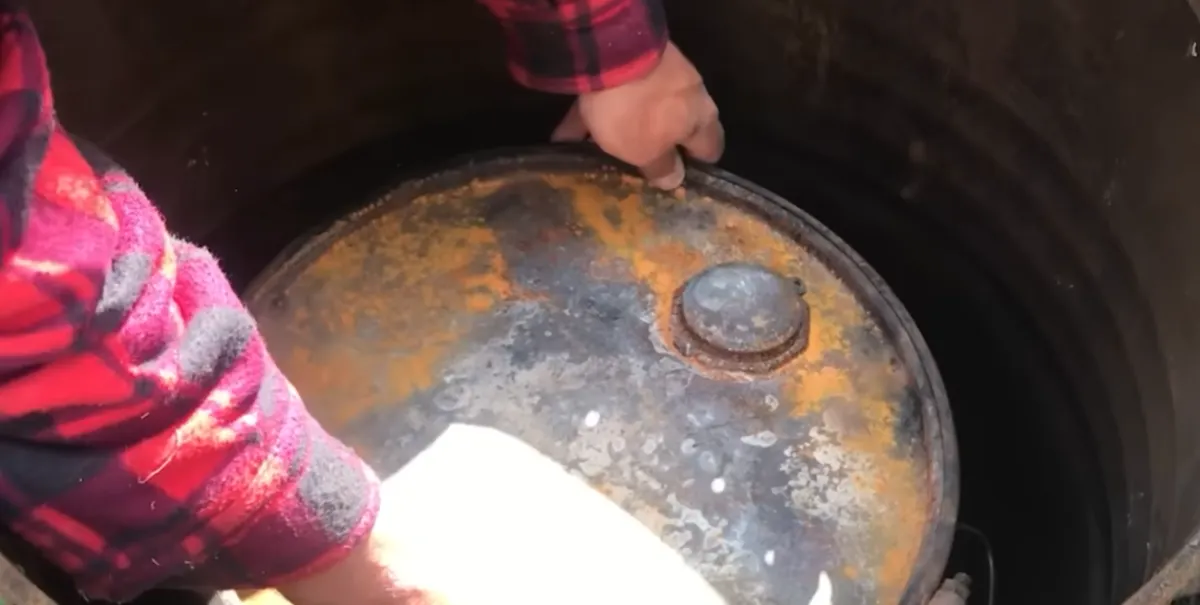
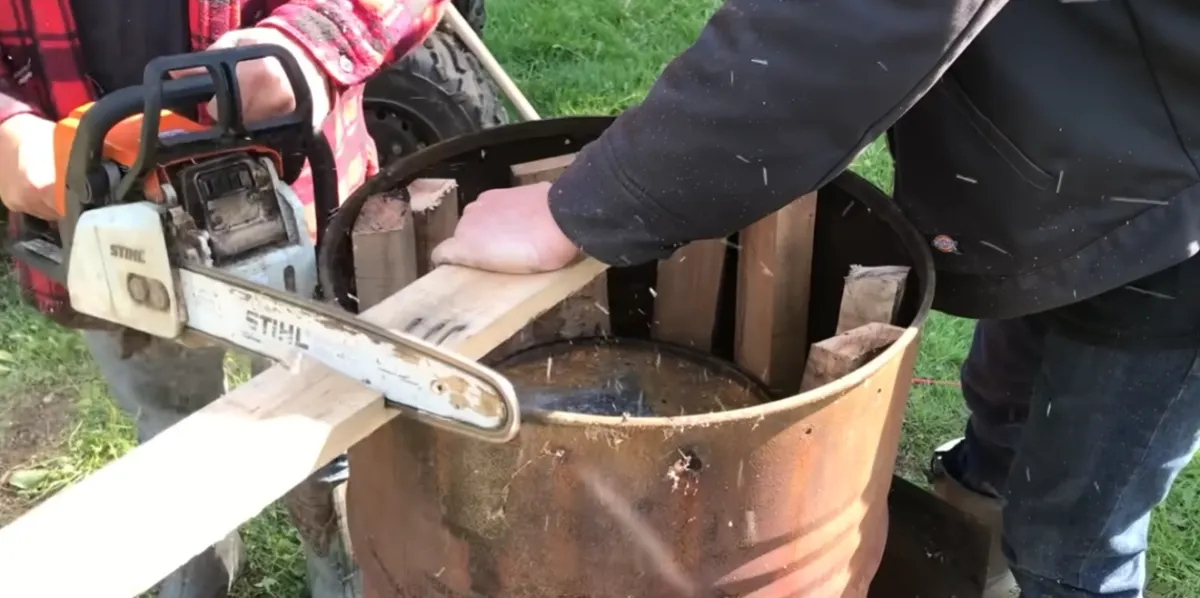
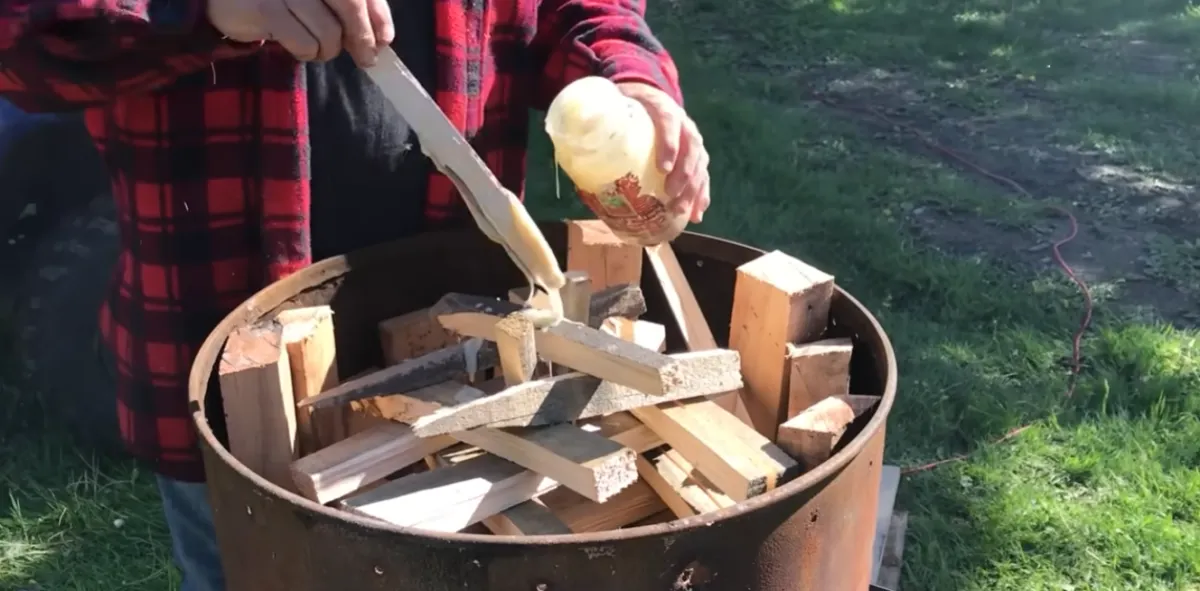
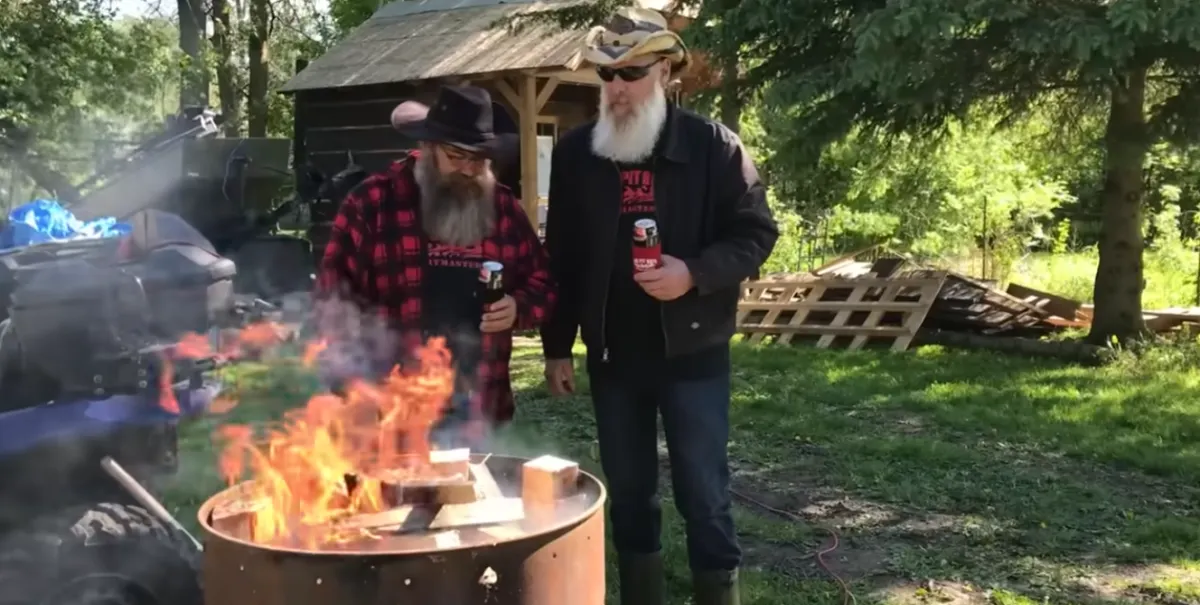
Step 1: Fill the Drum with Hardwood
Cut the hardwood into uniform pieces and place them vertically inside the metal drum.
Packing the wood tightly helps maximize the amount of charcoal produced while ensuring more even heating throughout the process.
Once filled, secure the lid while leaving any existing vents open so gases can escape safely.

Step 2: Build a Fire Around the Drum
Position firewood around the outside of the drum.
The goal is not to burn the hardwood inside the drum. Instead, the external fire heats the wood indirectly, creating the conditions needed for carbonization.
Many traditional charcoal makers surround the drum with scrap wood and maintain a strong fire for several hours.
Step 3: Maintain Heat and Airflow
Good airflow is critical.
Some DIY charcoal makers create a temporary chimney or ventilation system to increase draft and maintain consistent temperatures.
As the fire burns, gases released from the hardwood escape through the drum vents while the wood slowly transforms into charcoal.
This stage can take several hours depending on the size of the drum and the type of wood being used.
Step 4: Allow Everything to Cool
Once the burn cycle is complete, allow the drum to cool completely before opening it.
Opening the container too early can expose hot charcoal to oxygen and cause it to ignite.
Patience during the cooling phase helps preserve the finished charcoal and prevents unnecessary losses.
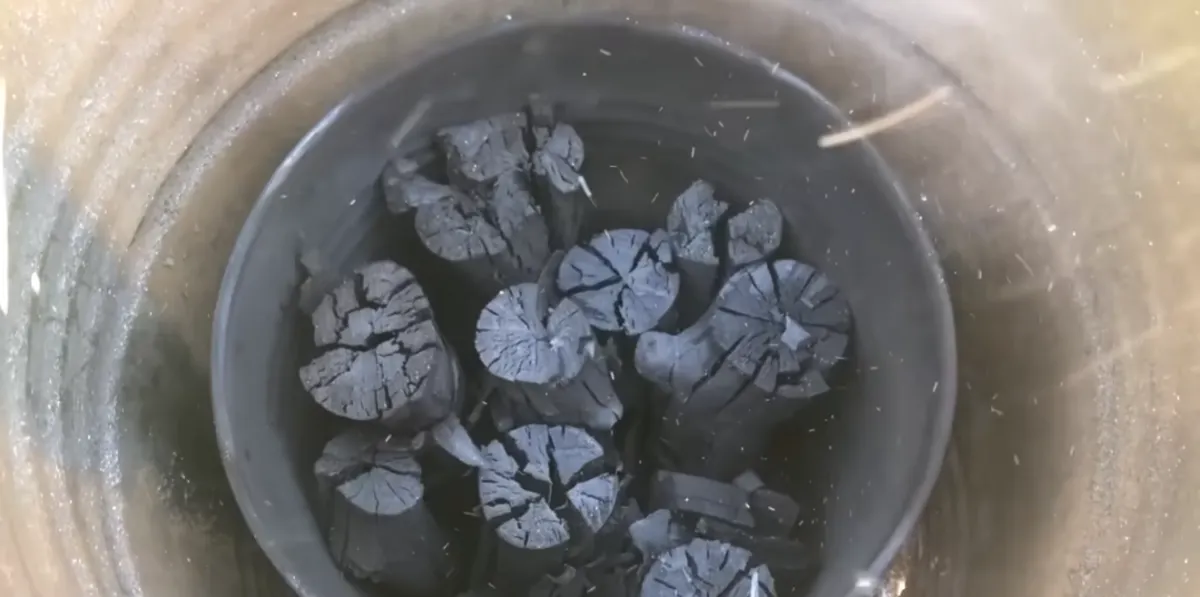
The Result: Natural Lump Charcoal
When the process is successful, the wood will appear blackened, lightweight, and carbon-rich while still retaining its original shape.
This product is known as lump charcoal.
Compared with many commercial briquettes, lump charcoal often burns hotter, lights faster, and produces less ash, making it a favorite among serious grillers and pitmasters.
Benefits of Homemade Charcoal
Making your own charcoal offers several advantages:
- Lower long-term fuel costs
- Better control over wood quality
- Reduced reliance on commercial briquettes
- More authentic wood-fired flavor
- A rewarding DIY outdoor project
For those who regularly use smokers, grills, and barbecue pits, homemade charcoal can become a practical and sustainable fuel source.
Important Safety Considerations
Charcoal production involves high temperatures, open flames, and combustible gases.
Always:
- Work in an open outdoor area
- Keep fire extinguishing equipment nearby
- Follow local fire regulations
- Wear protective clothing and gloves
- Never leave the kiln unattended
Research proper charcoal-making techniques before attempting any project.
 Alex Mandela 20 June 2026