


How to Make a Cute Pom-Pom Teddy Bear in 24 Easy Steps | DIY Bear Tutorial
If you'd like to make an adorable handmade yarn teddy bear at home and give it as a thoughtful gift to children, friends, or loved ones, follow this step-by-step tutorial. In this guide, you'll learn how to create a cute DIY pom-pom teddy bear in 24 easy steps using simple craft supplies and beginner-friendly techniques.
Step 1: Position the Yarn to Start Making the Teddy Bear
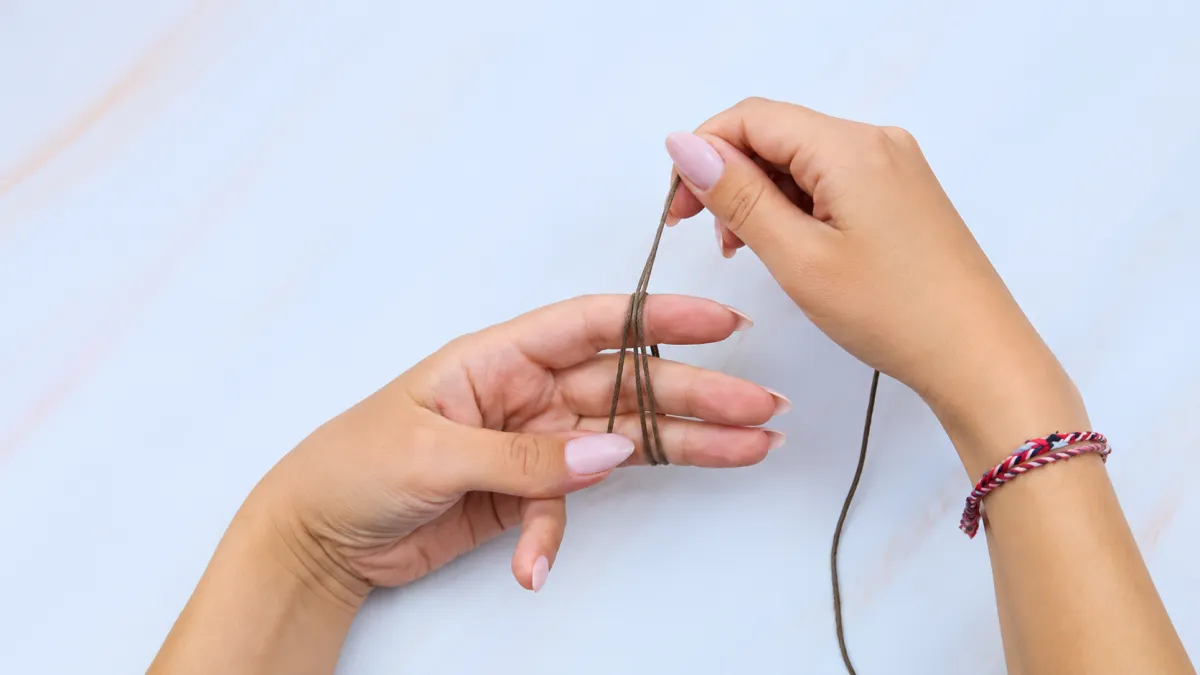
Place the end of the yarn across your fingers and position it securely to begin wrapping for the teddy bear.
Step 2: Wrap the Yarn Around Your Fingers
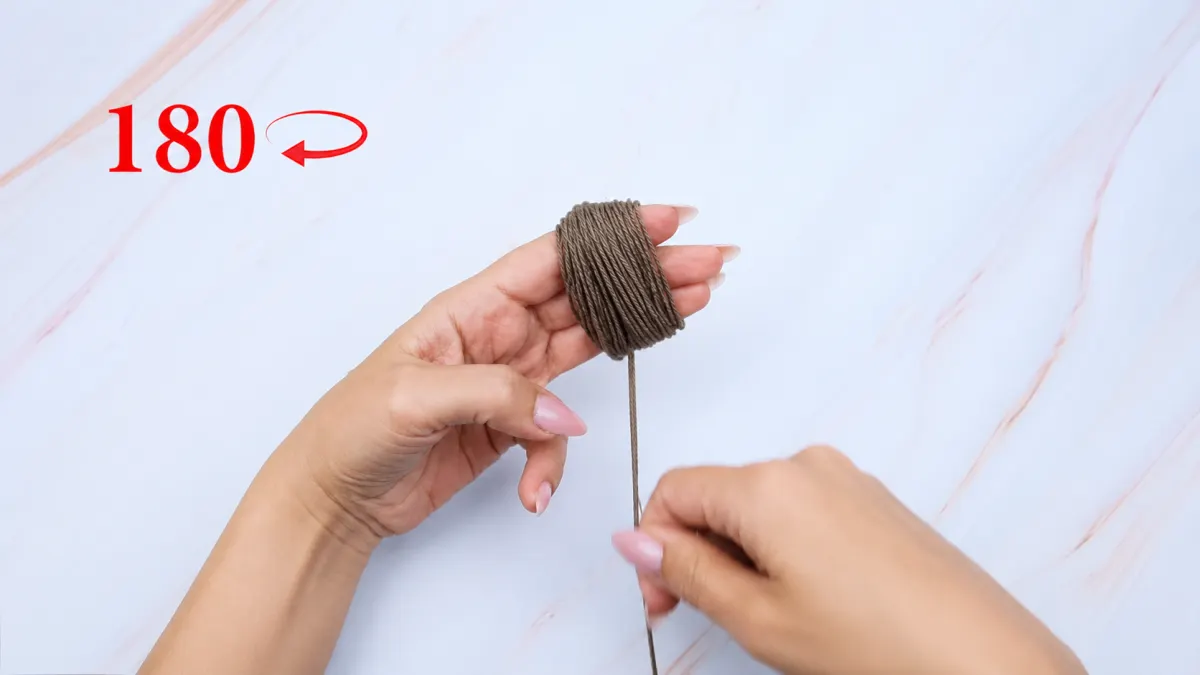
Wrap the yarn evenly around your fingers about 180 times to create a thick bundle for the teddy bear's first pom-pom.
Step 3: Cut the Yarn to Complete the Wrapped Bundle
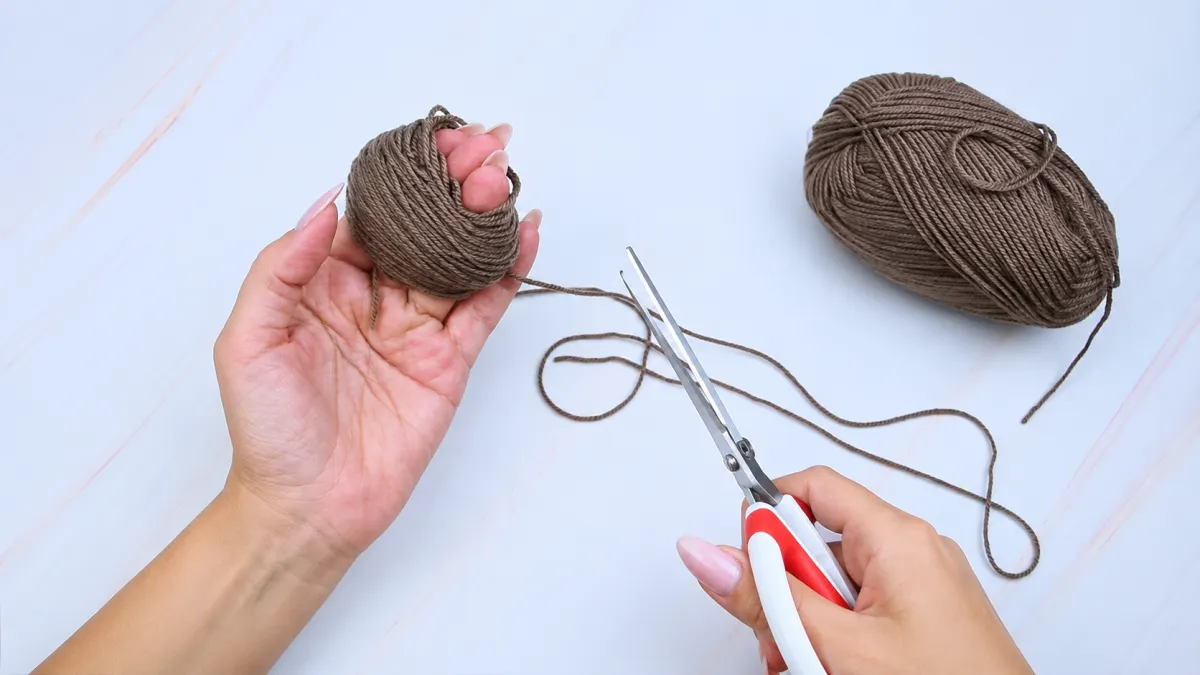
After wrapping the yarn the required number of times around your fingers, use scissors to cut the working end of the yarn, leaving the wrapped bundle ready for the first teddy bear pom-pom.
Step 4: Secure the Wrapped Yarn with a Tight Center Tie
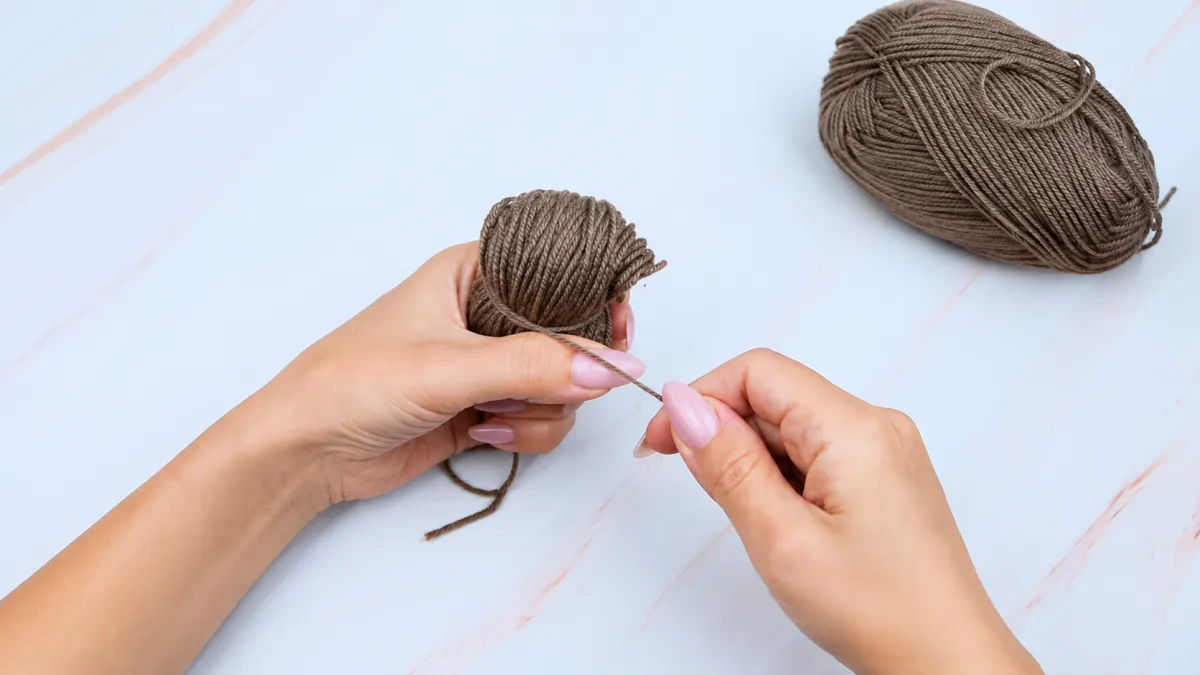
Thread a separate piece of yarn through the center of the wrapped bundle and tie it tightly to hold the loops securely in place before forming the pom-pom.
Step 5: Tighten the Center Knot to Secure the Yarn Bundle
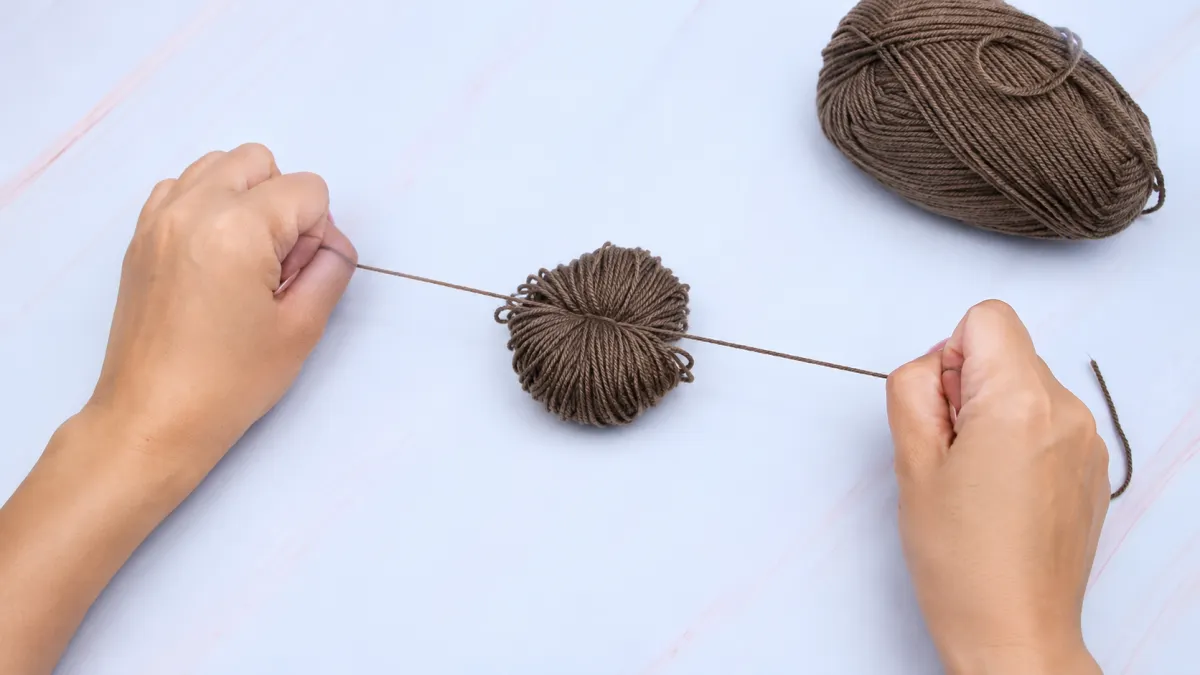
Pull both ends of the yarn firmly in opposite directions to tighten the center knot, securing the wrapped bundle before shaping it into the teddy bear pom-pom.
Step 6: Cut the Loops to Form the Pom-Pom
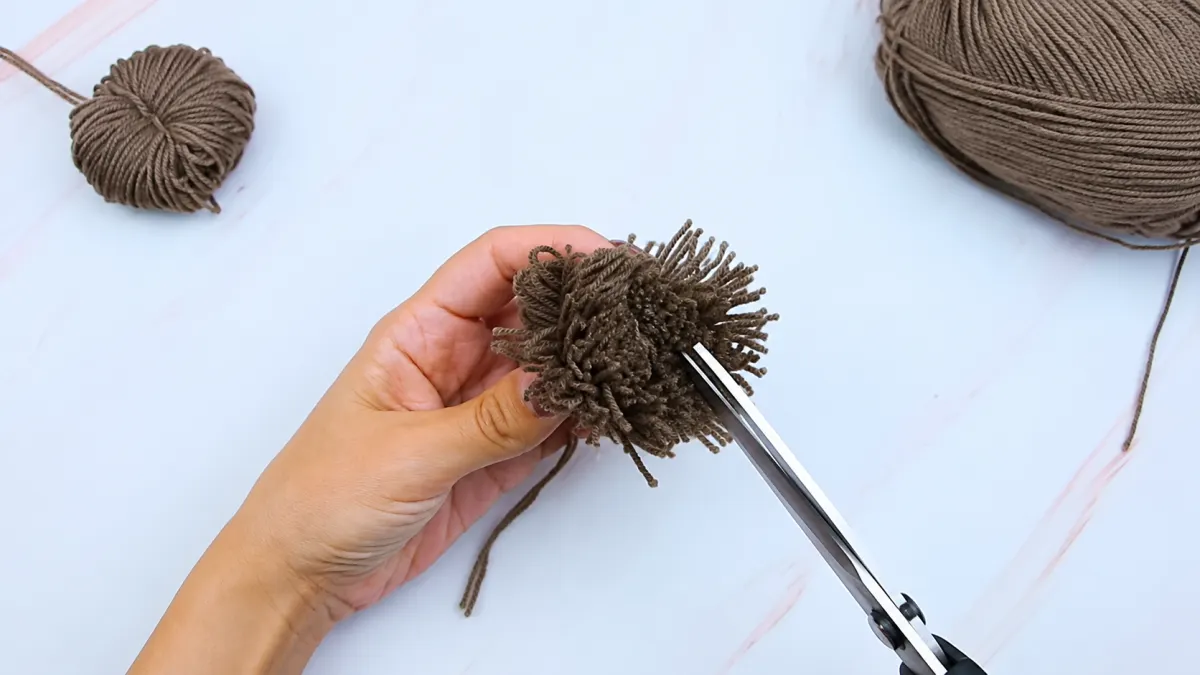
Using sharp scissors, carefully cut through all the yarn loops on both sides to release the strands and create the basic shape of the teddy bear pom-pom.
Step 7: Cut the Yarn Loops on Both Sides
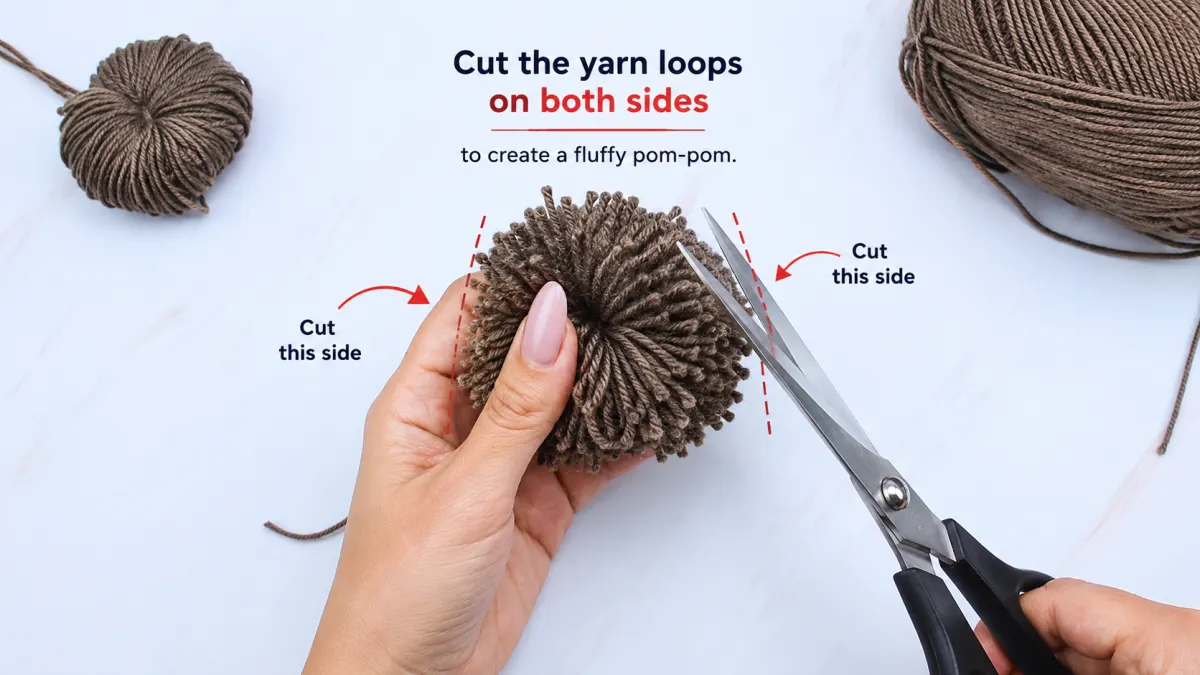
Using sharp scissors, carefully cut the yarn loops on both sides of the bundle until all the loops are opened, creating a fluffy pom-pom for the teddy bear.
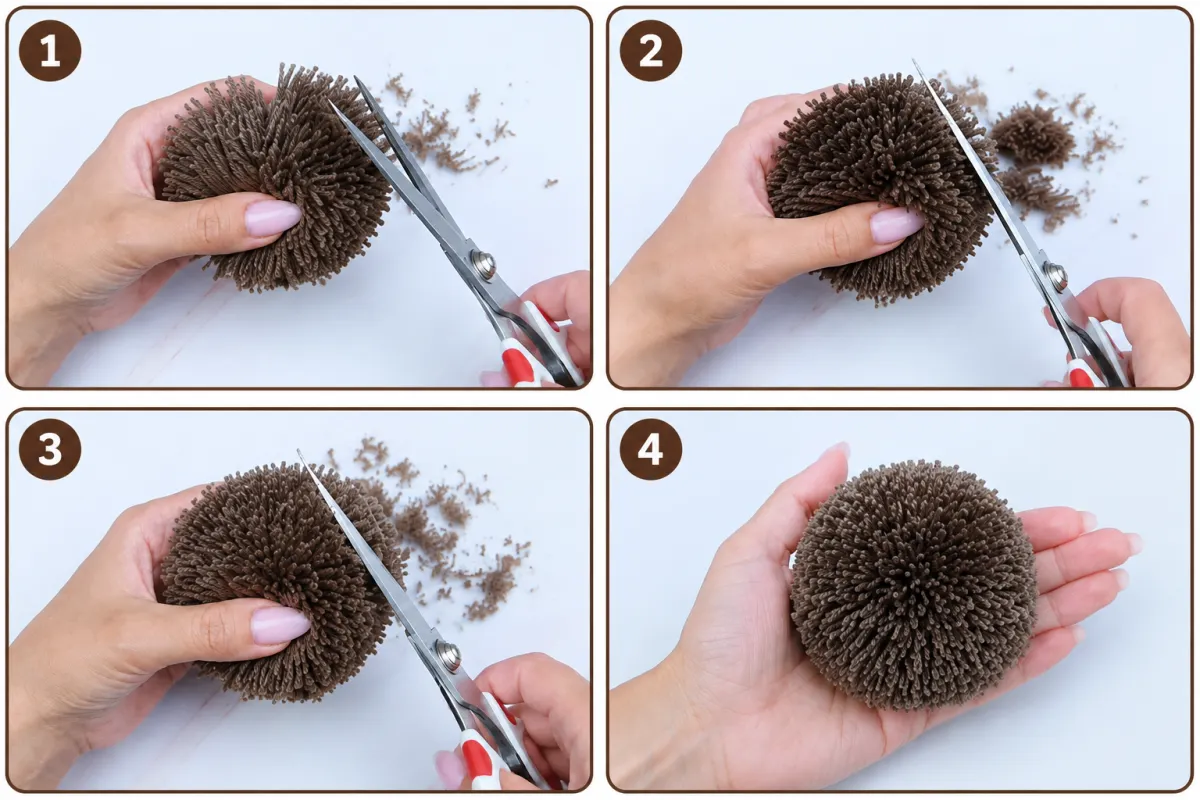
Step 8: Trim the Pom-Pom into a Perfect Round Shape
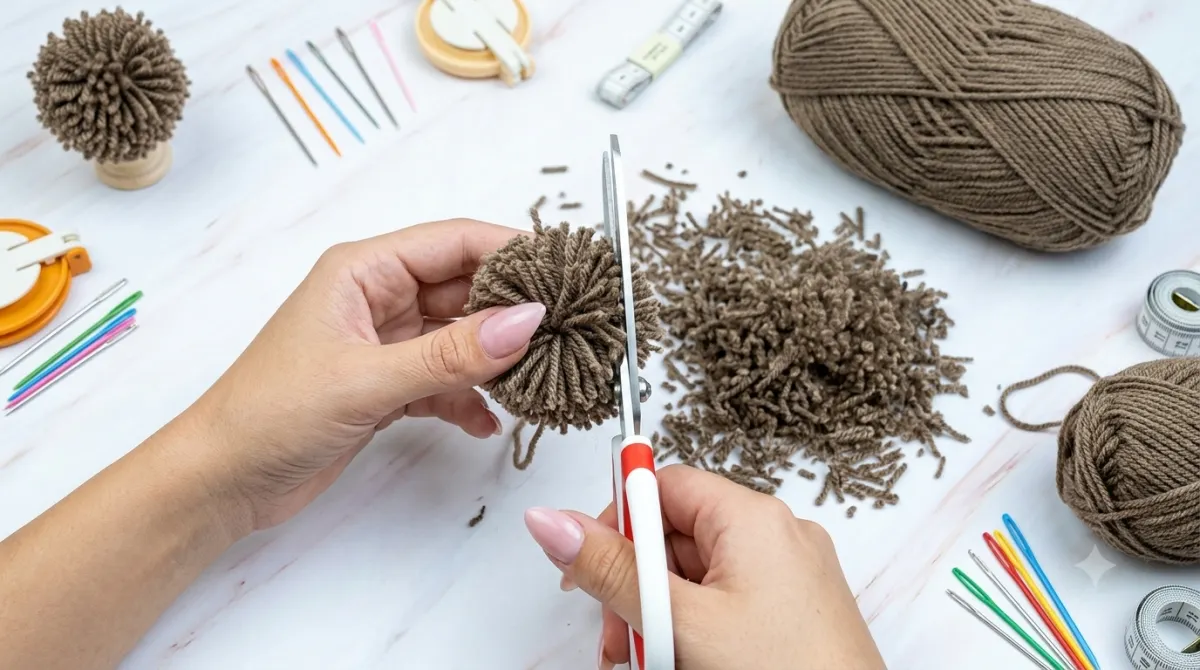
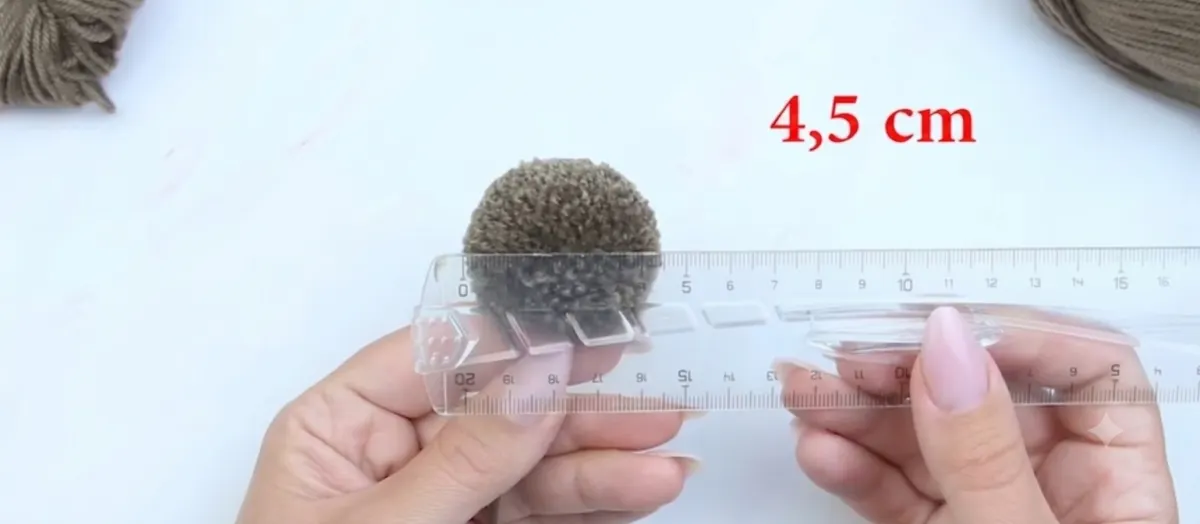
Carefully trim the longer and uneven yarn strands from all sides until the pom-pom becomes perfectly round and uniform. The finished pom-pom should measure approximately 4.5 cm (1.8 inches) in diameter.
Step 9: Prepare Two Matching Pom-Poms
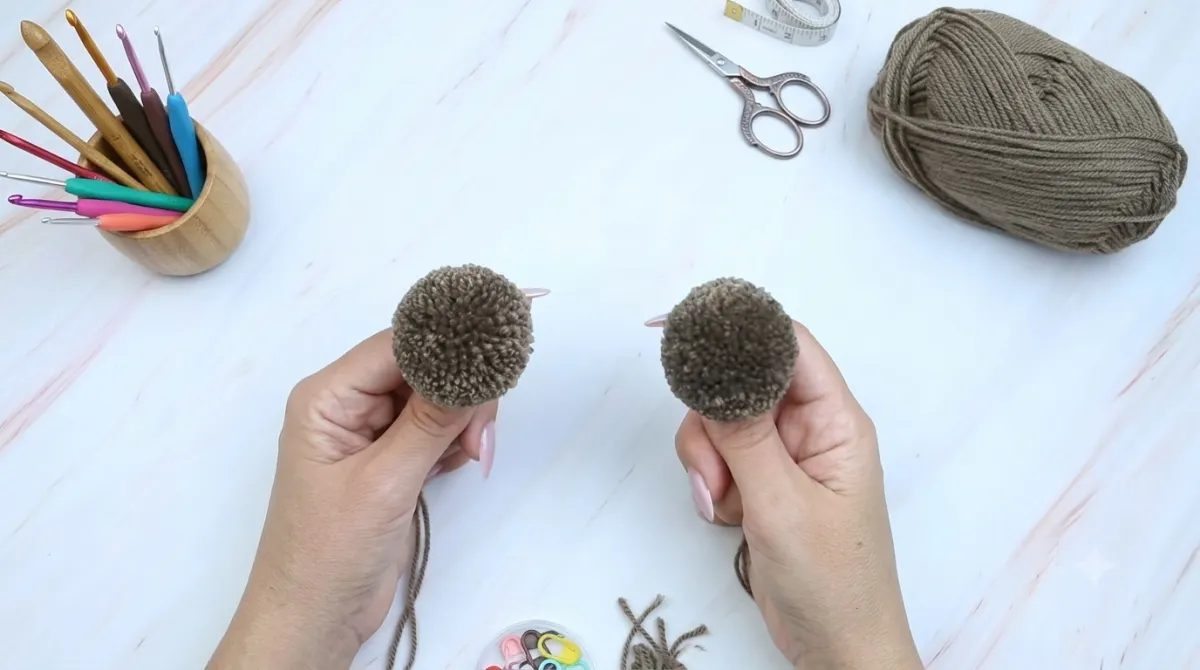
At this stage, you should have two evenly trimmed, round pom-poms of matching size. These pieces will be used to create the main parts of the teddy bear, including the head and body, in the next steps.
Step 10: Tie the Two Pom-Poms Together
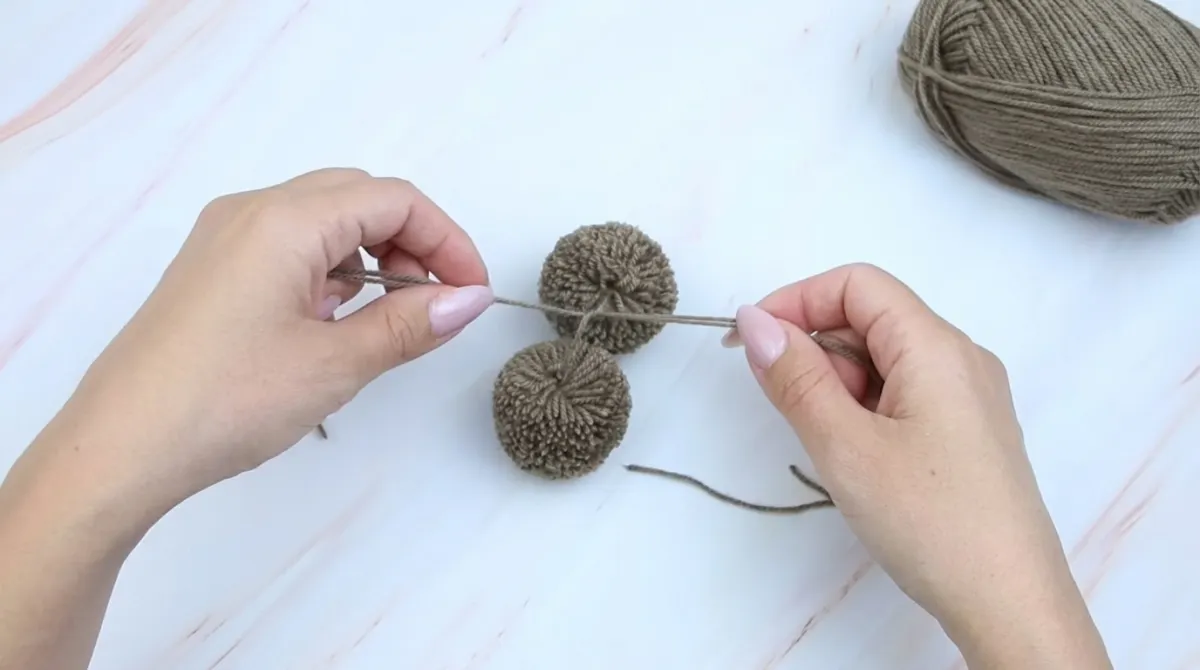
Place the two pom-poms together and use the remaining center yarn strands to tie them tightly, securely joining the teddy bear's head and body into a single piece.
Step 11: Check the Basic Teddy Bear Body Shape
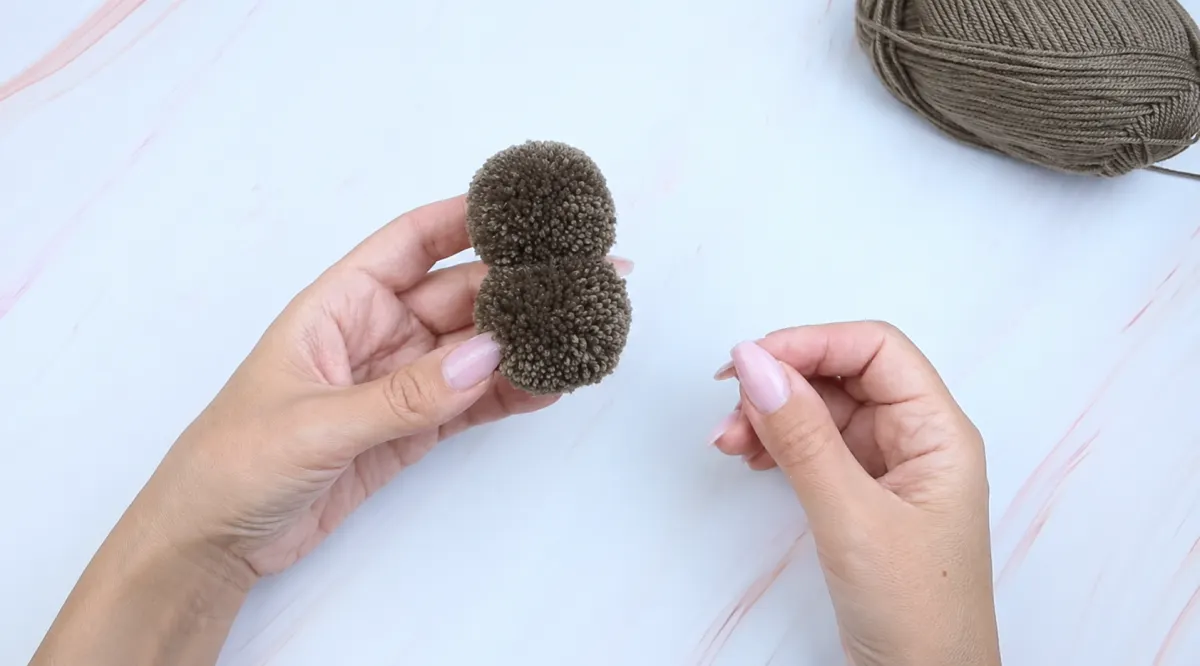
After joining the two pom-poms, check the basic shape of the teddy bear. The head and body should be securely connected, creating the main structure before adding the arms, legs, ears, and facial details.
Step 12: Wrap Yarn Around Your Finger for the Teddy Bear's Arms
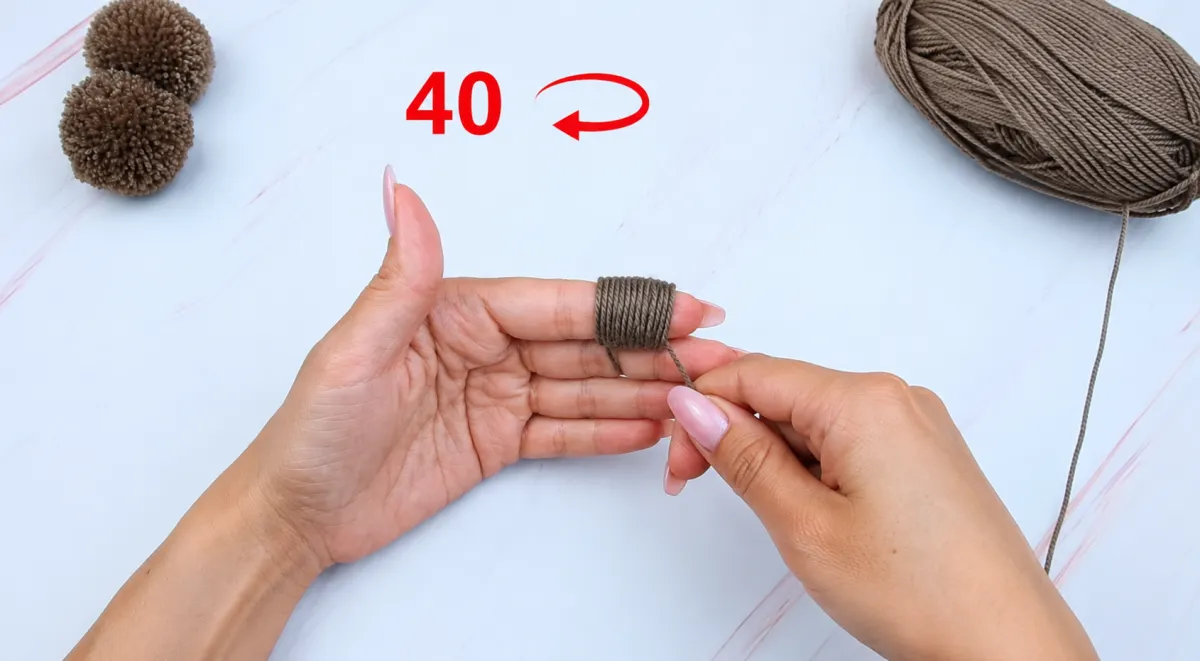
To make the teddy bear's arms, wrap the yarn about 40 times evenly around one finger, creating a small yarn bundle for the arm pom-poms.
Step 13: Tie the Small Yarn Bundle Securely
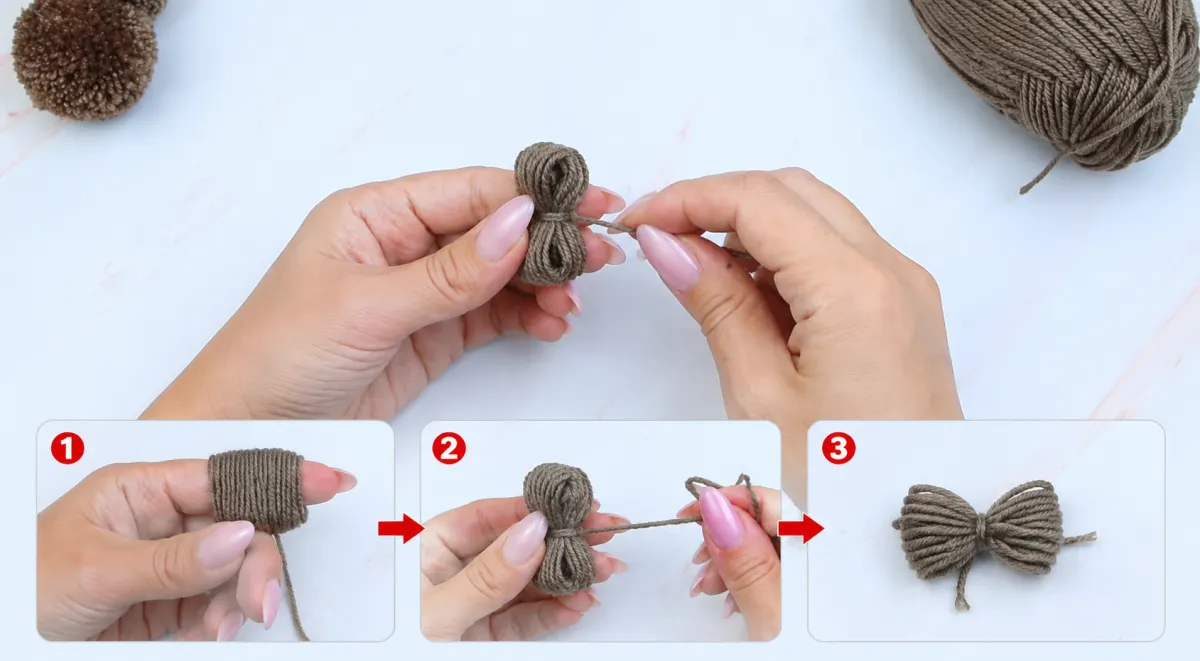
After wrapping the yarn about 40 times around your finger, carefully slide it off and tie a separate piece of yarn tightly around the center to secure the small bundle for the teddy bear's arms.
Step 14: Make Five Small Yarn Bundles for the Teddy Bear Parts
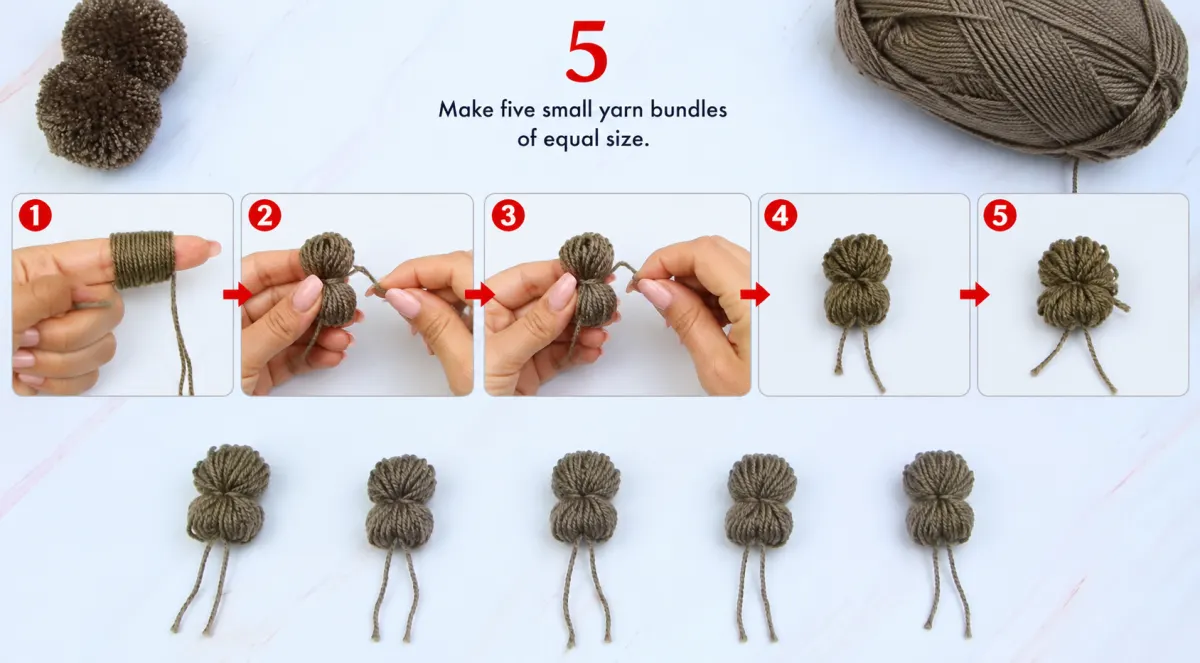
Repeat the same process until you have five small yarn bundles of equal size. These pieces will be used later to create the teddy bear's arms, legs, and ears.
Step 15: Trim the Small Yarn Bundles
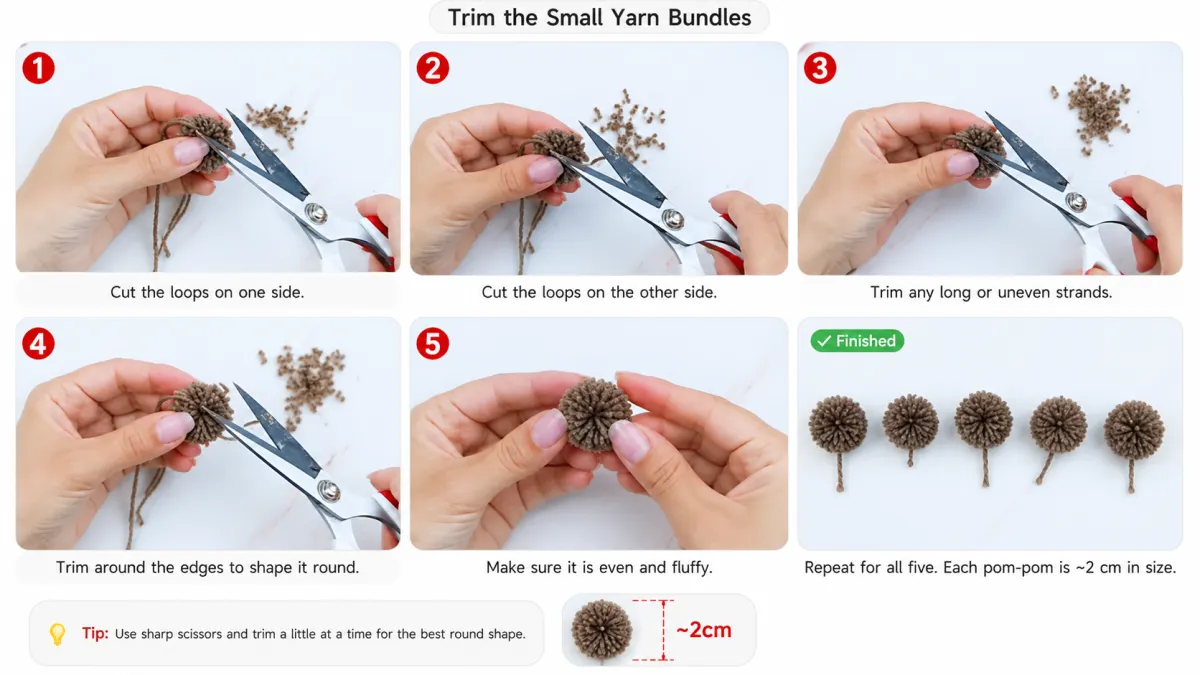
Cut the yarn loops on both sides of each small bundle, then carefully trim the uneven strands until each one becomes a small, round, and evenly shaped pom-pom. These mini pom-poms will be used to create the teddy bear's arms, legs, and ears.
Step 16: Check the Size of the Small Pom-Poms
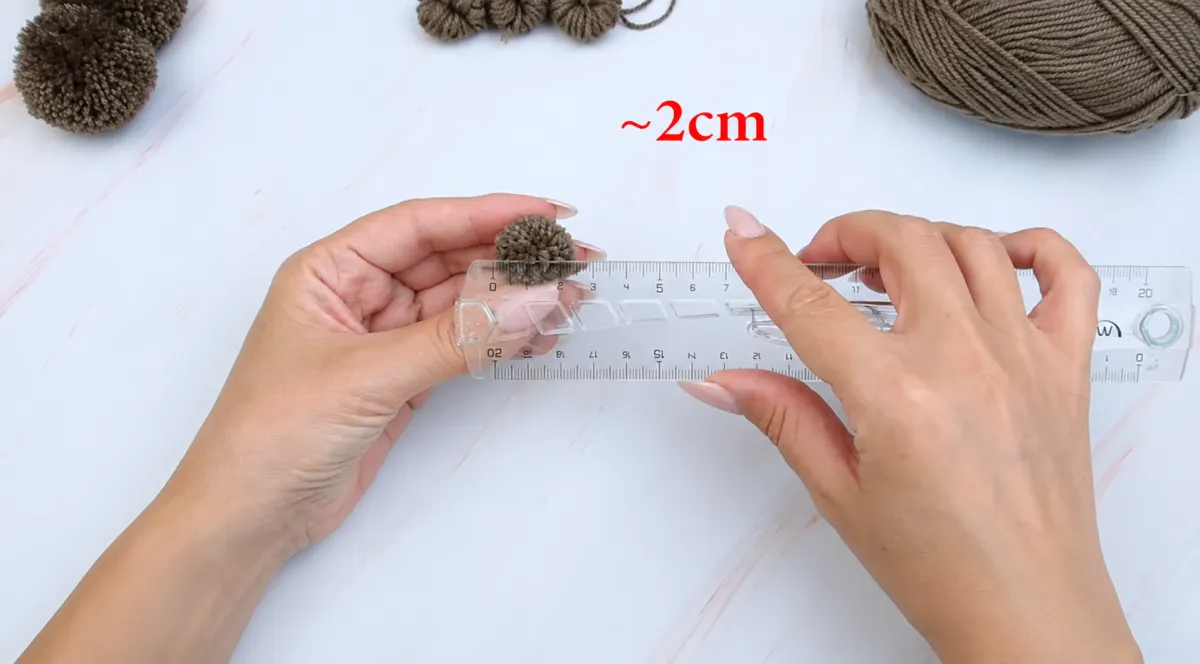
After trimming and shaping the mini pom-poms, check their size with a ruler. Each pom-pom should measure approximately 2 cm (0.8 inches) in diameter to ensure the teddy bear's arms, legs, and ears are evenly proportioned.
Step 17: Glue the Small Pom-Poms to the Body
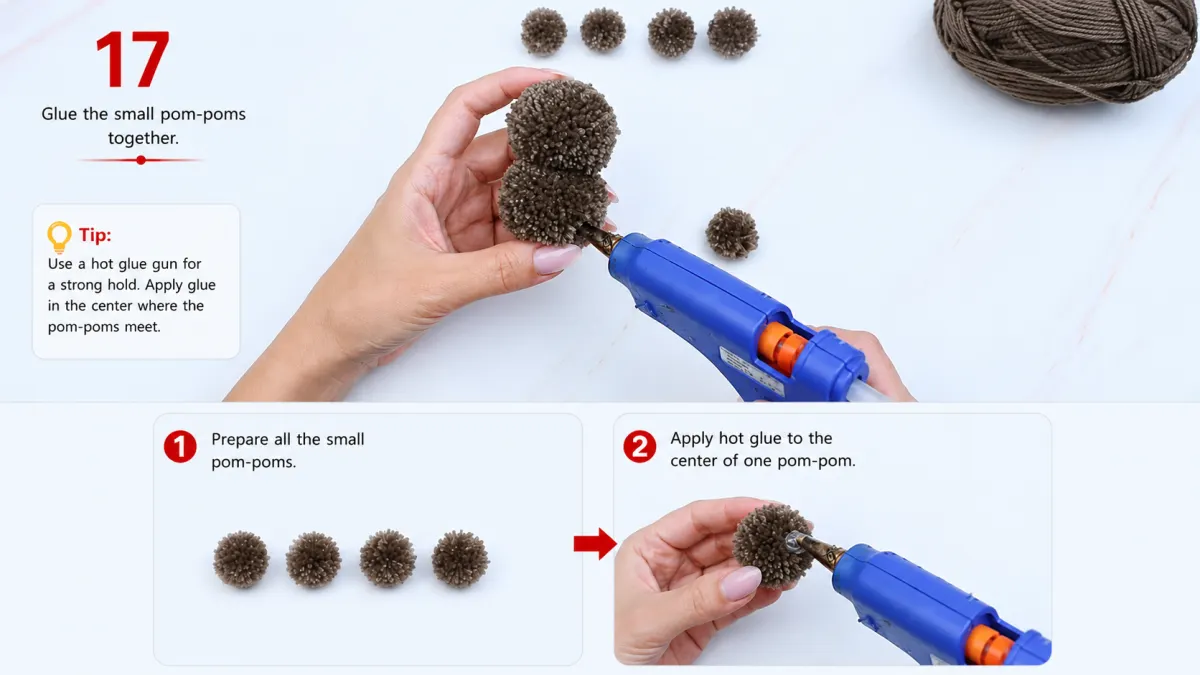
Using a hot glue gun, apply a small amount of glue to the attachment points on the teddy bear's body and press one small pom-pom firmly into place. Repeat the process for the remaining pieces until the arms, legs, and ears are securely and evenly attached.
Step 18: Check the Attached Arms and Legs
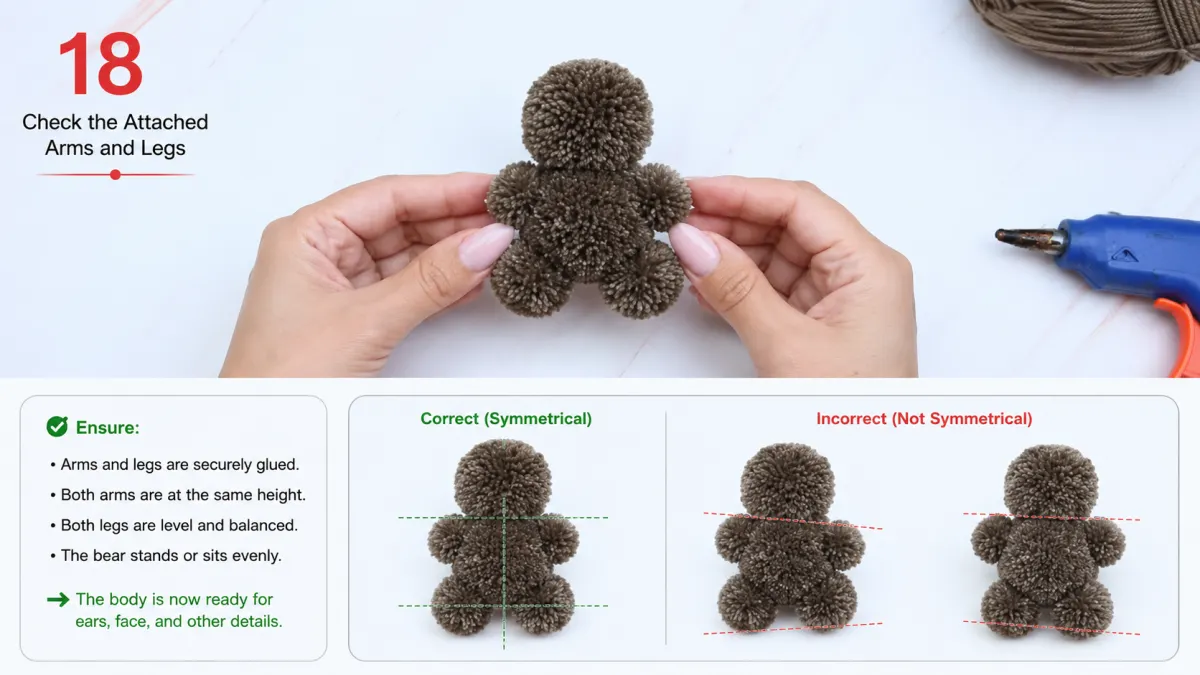
After attaching all the small pom-poms, inspect the teddy bear's overall shape. The arms and legs should be securely attached, evenly positioned, and symmetrical, creating a stable body that is ready for the ears, face, and other finishing details.
Step 19: Trim the White Pom-Pom for the Teddy Bear's Muzzle
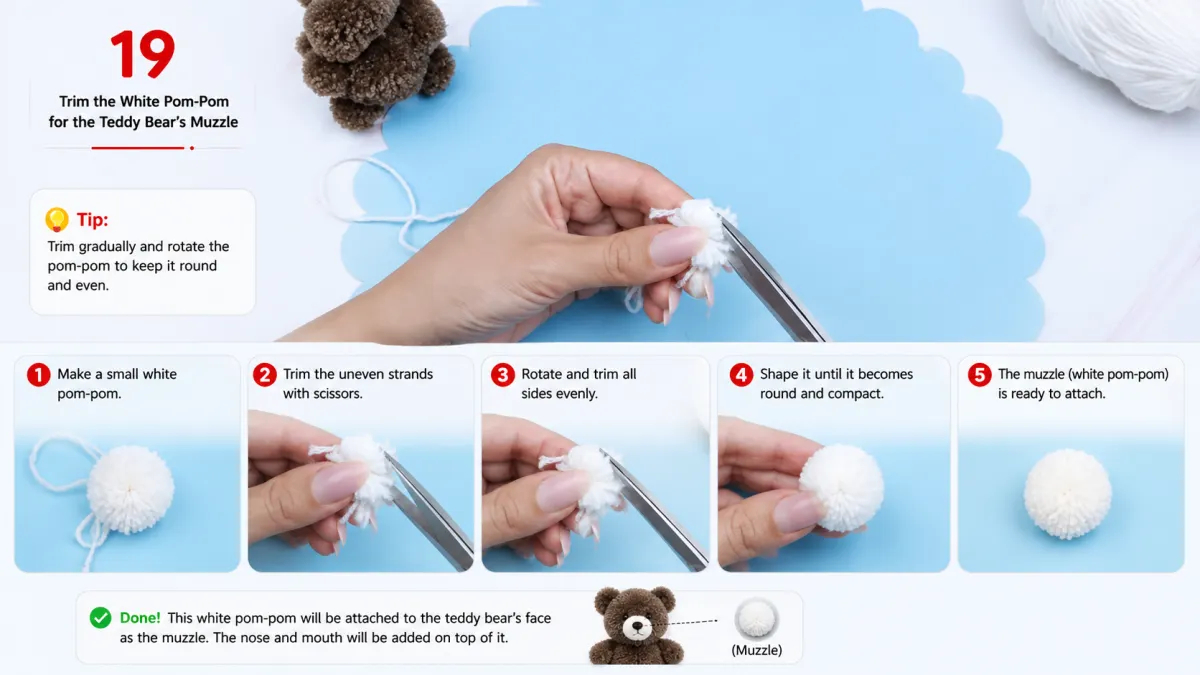
To create the teddy bear's muzzle, prepare a small white pom-pom using the same method as before. Carefully trim the uneven yarn strands until it becomes compact, smooth, and evenly rounded. This piece will be attached to the front of the face in the next step to form the bear's muzzle, where the nose and mouth will be added.
Step 22: Make and Attach the Felt Ears
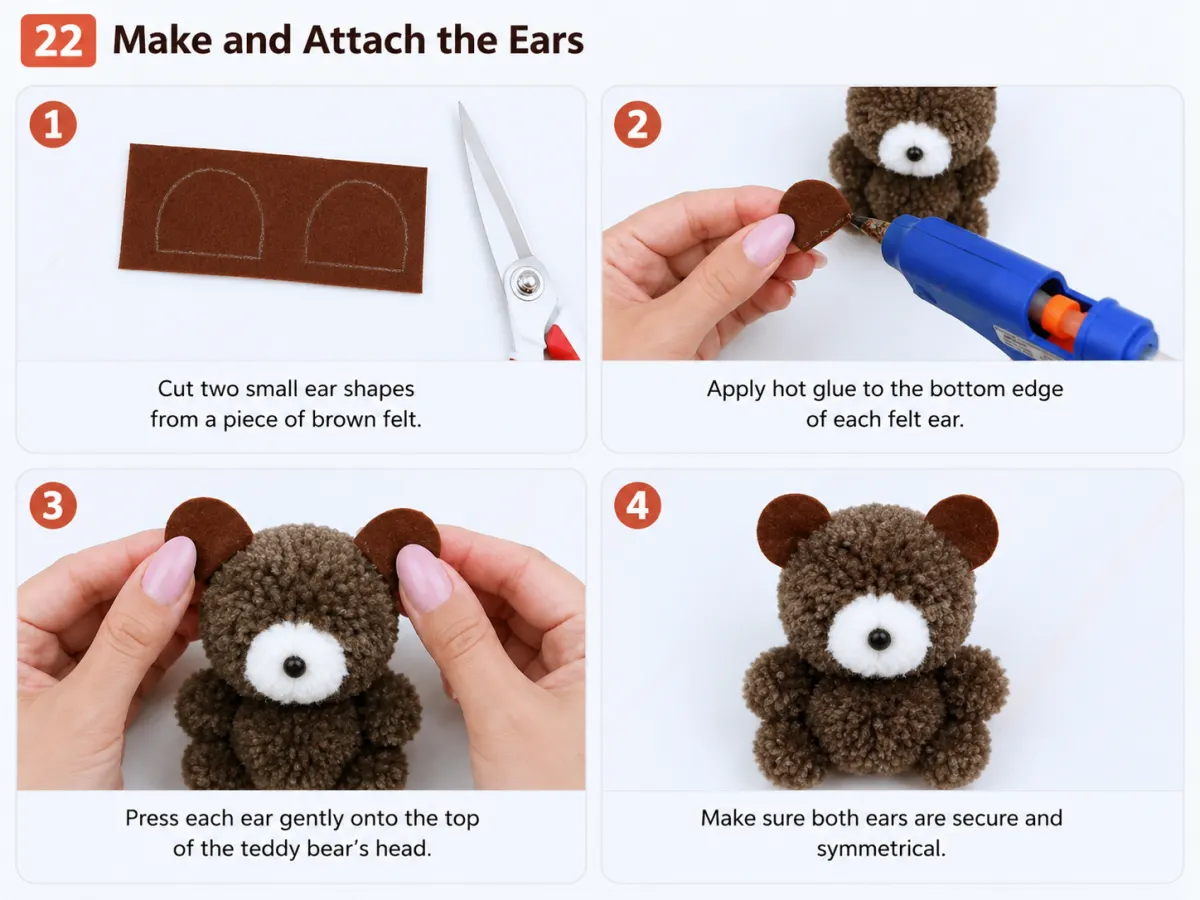
Cut two small, matching ear shapes from a single piece of brown felt. Apply a small amount of hot glue to the straight edge of each felt piece, then attach them symmetrically to the top sides of the teddy bear's head. Take a moment to adjust their position so both ears are aligned evenly and face the same direction. Once the glue has fully set, the felt ears will give the teddy bear a finished, balanced, and more expressive appearance.
Step 23: Add the Nose and Eyes
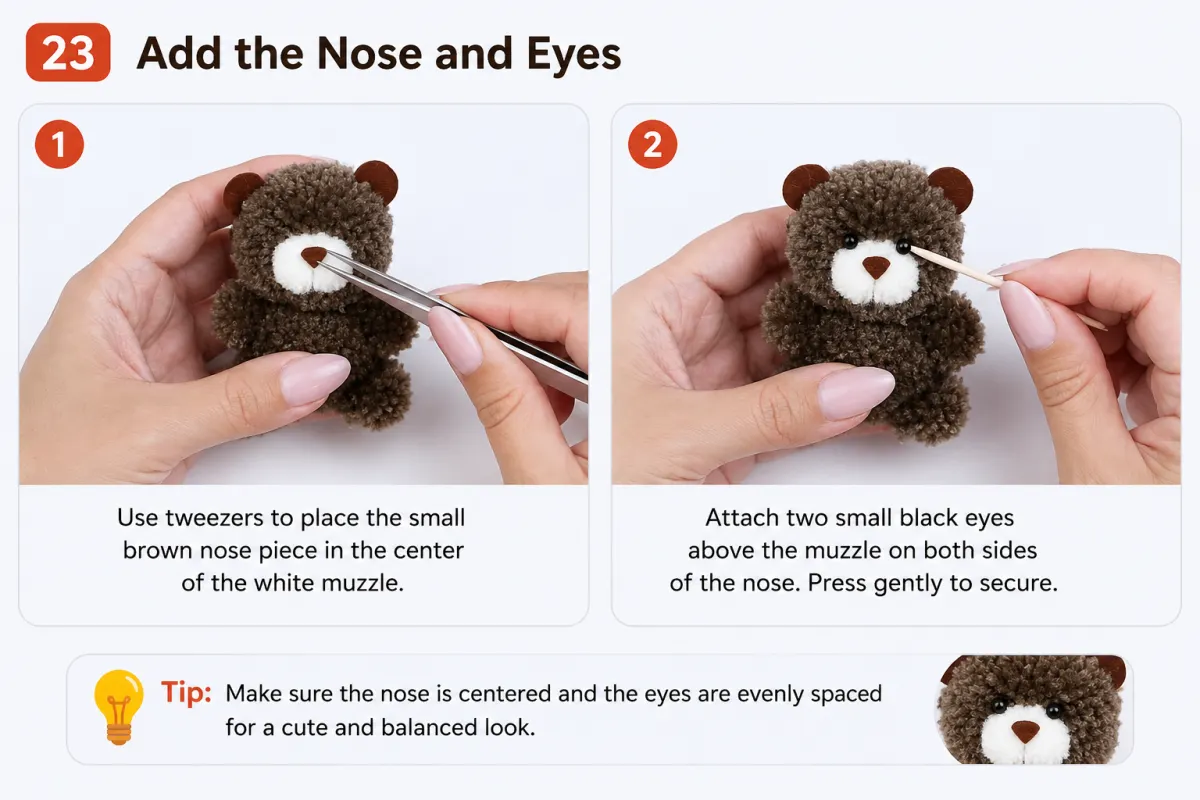
Attach the small brown nose to the center of the white muzzle using tweezers, then place the two black eyes evenly above the muzzle on both sides. Adjust their position until the teddy bear has a balanced, symmetrical, and expressive face.
Step 24: Add the Scarf
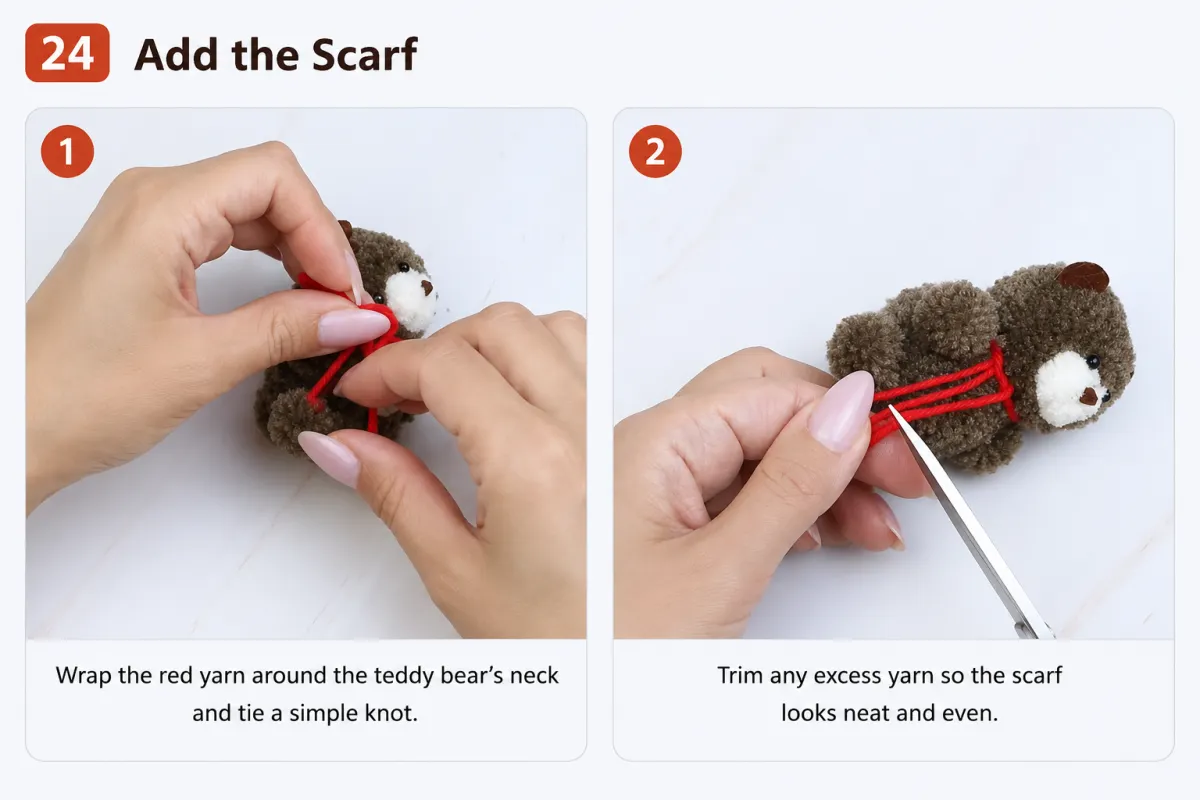
Wrap a short piece of red yarn around the teddy bear’s neck and tie it into a simple knot. Adjust the scarf so it sits neatly, then trim the ends evenly with scissors. This final detail adds a warm, decorative touch and completes the teddy bear’s adorable handmade look.
Final Result
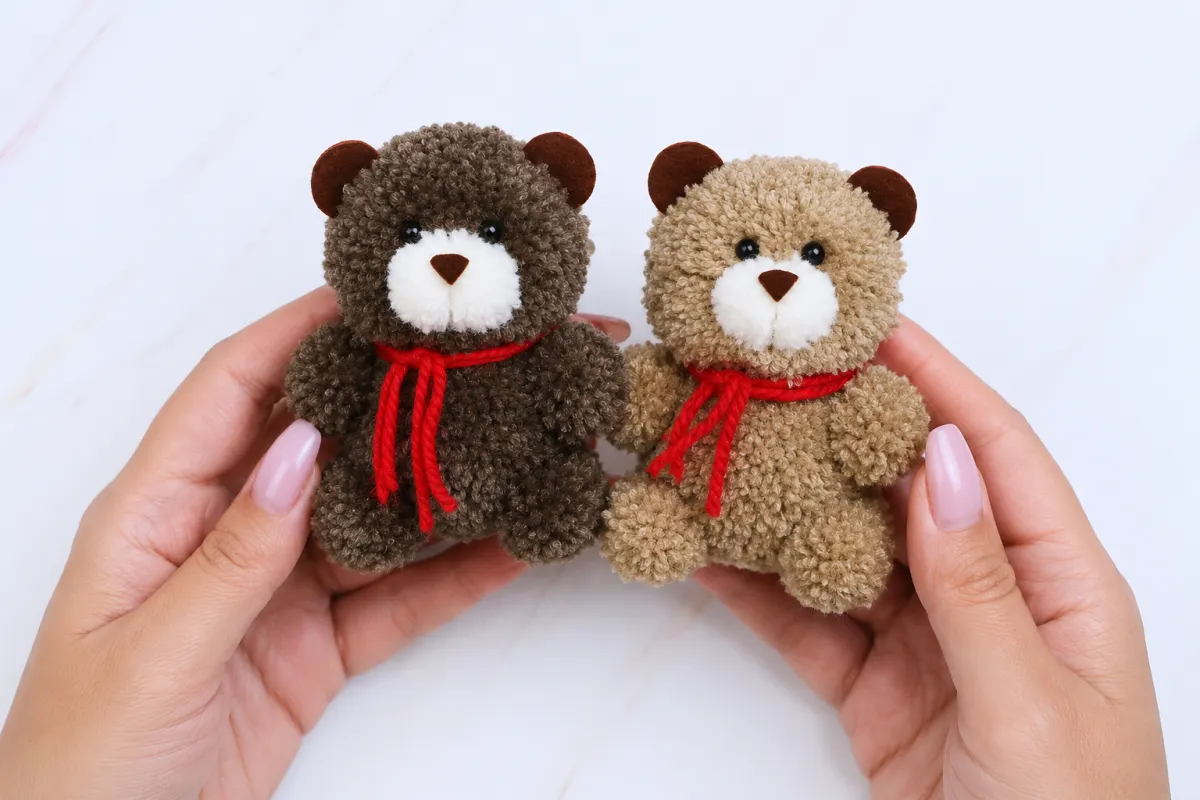
Congratulations! Your adorable pom-pom teddy bears are now complete. One of the best things about this project is how easy it is to customize. You can use any color of yarn to create unique bears, from classic brown and cream to white, gray, pink, blue, or even rainbow shades. Simply adjust the number of yarn wraps or the size of the pom-poms to make miniature keychain bears or larger cuddly decorations. Add different ribbon colors, tiny accessories, or personalized details to make each bear one of a kind. These handmade teddy bears make thoughtful gifts for birthdays, holidays, baby showers, Valentine's Day, or simply as a heartfelt handmade surprise for someone special.
 Alex Mandela 06 July 2026
 Help us keep GotFort ad-free and accessible to everyone. Your contribution supports independent content, research, and publishing.